About Me

My photo
After thirty years of hiring, I finally bought my own 50ft boat in 2005, which was built in 2001 by Andicraft at Debdale Wharf. I mostly cruise single handed and have no problem with that, although it does take a little longer than with a crew. My mooring is on the Wey Navigation, so I have a choice of routes on the Wey or the Thames.

Tuesday 6 March 2012

Roses and Castles


This is something I started seriously last winter after a few attempts from the book on the subject by Anne Young. Since then I have read Tony Lewery's book 'The Art of The NarrowBoat Painters' and purchased the Phil Speight and Tony Lewery videos on the subject. If that wasn't enough, I started photographing historical work from Stoke Bruerne Waterways Museum and any other boat painting that I came across when out on the waterways. I nearly forgot to mention that there is a lot of other peoples work in the internet.

I have to say that the more boat painting I see, the more I am able to form opinions on what I like and dislike, bearing in mind that a lot of the older work was created in a limited timeframe whilst the boats were being blacked, caulked or otherwise repaired, so it was done very quickly out of necessity.


After some feeble attempts on card trying out petals and leaves for roses, I jumped in the deep end with some tinplate jugs, bought cheaply in an Asda sale, which I thought at the time would do for presents one day in the future. The coal hod came with my boat and certainly needed some brightening up. I also had a galvanised bucket on board which was to accept my first effort with a castle scene. It was virtually painted by numbers from the Phil Speight video, but turned out reasonably successfully.


I have used a variety of paints, starting with Humbrol in those tiny tins. One thing in their favour is that they don’t skin over like paints in larger tins, which is a problem I have yet to find a solution to, although I have thought of adding pebbles to the tin to keep the level up and exclude the air. Any contributions to solving  this problem would be gratefully received.

I have invested fairly heavily in brushes, but still often find that I don’t have the right brush for the job. It has always been my aim to have the right tools for the job and there is no doubt that this makes it easier to achieve success.

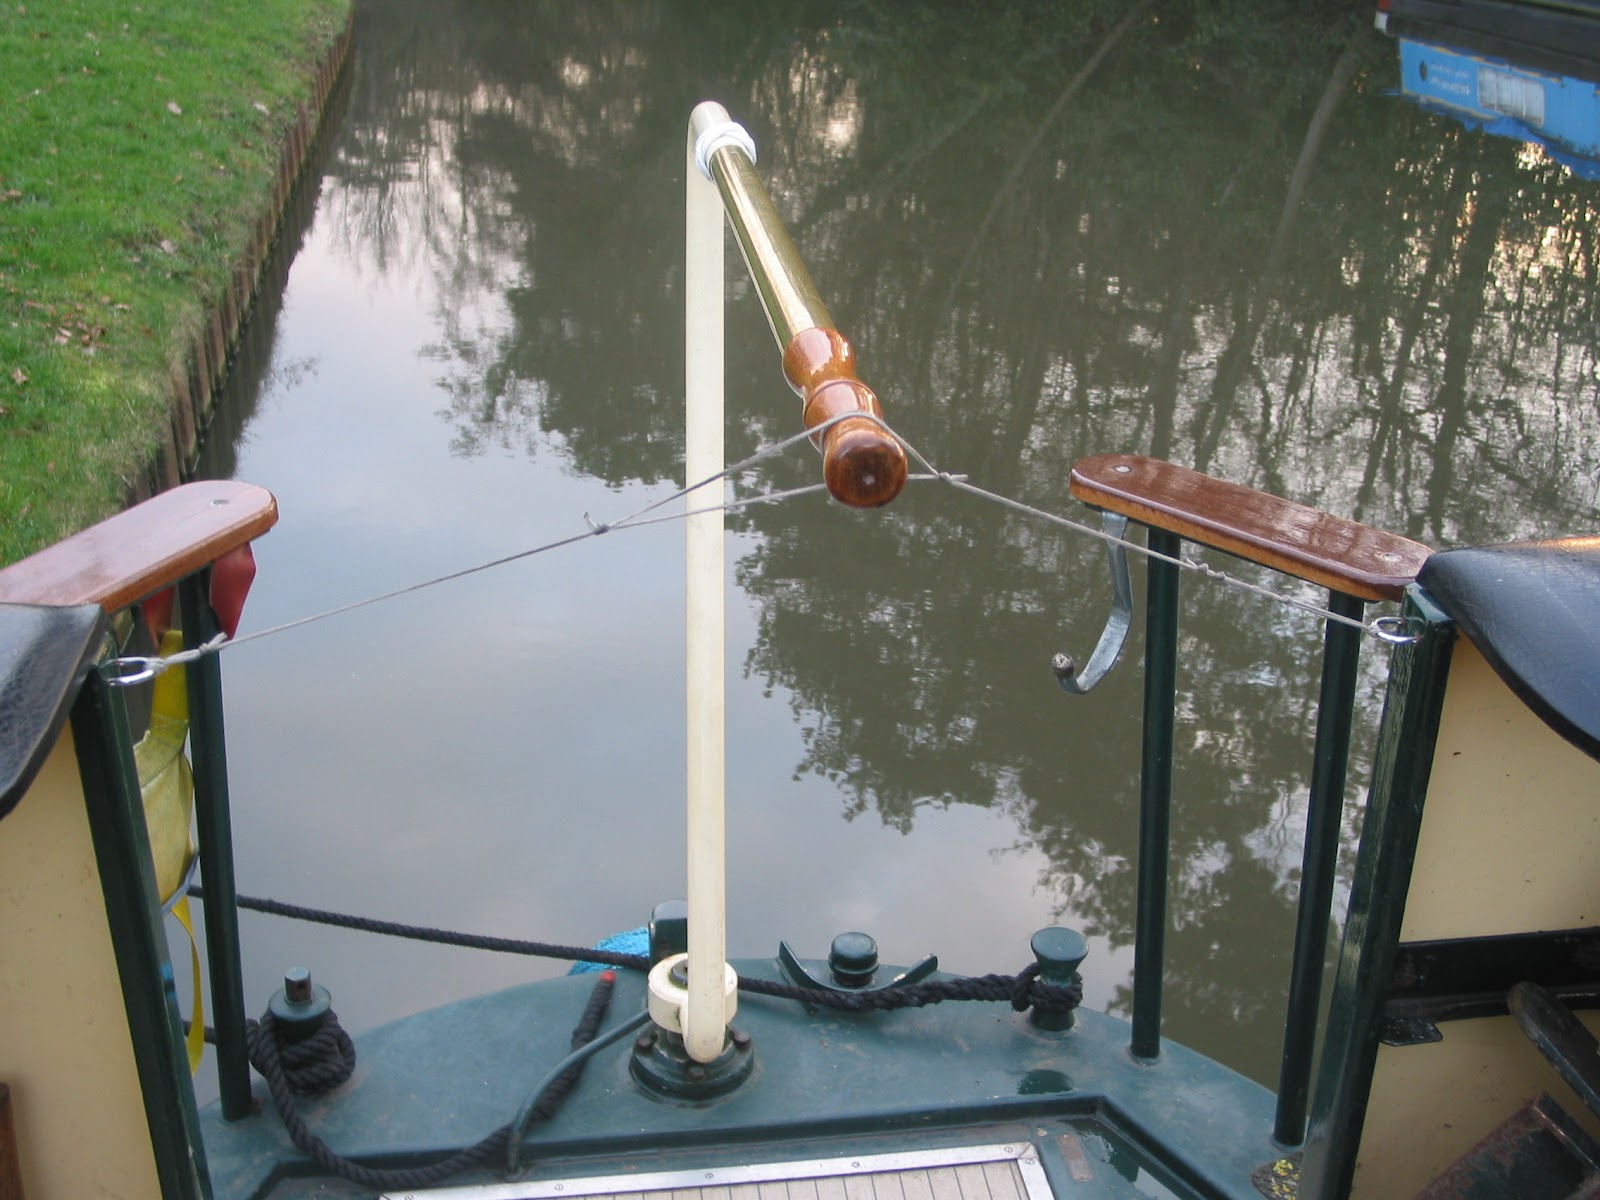
My latest project is to decorate a 4 gallon Buckby Can, which I bought at a well known chandlery at the bottom of Buckby Locks. Much to my surprise, it leaked like a seive when filled with water and by that time it was too late to return for another one. It takes a long time on a boat! Although I told them what happened, the chandlery did not offer any part refund and said that they were probably only made for decoration (almost certainly in China). However, I did managed to soft solder the base and it’s now fit for purpose and ready for some paint. Again it was painting by numbers, because it was a long time ago that I did the bucket.

Here it is with the castle scenes partly completed. There still is a lot more work to be done.


Monday 5 March 2012

Stronghold Modifications


My first improvement, as a single handed boater, was to enable easy access to the cabin top. I considered several ideas, but came up with some steps from the locker top. With hindsight, I think maybe a box construction would have been better. The steps are narrow and getting back to the counter from the top, needs careful balancing, especially if the lock wall is not on that side. A box, on the other hand would enable less precision in stepping down; it could also be used for storage as well as an additional seat for crew.

Gangplank
The original gangplank was nearly 2ins thick and weighed a ton – actually 36lbs. It was very difficult to lift off the cabin top and even more awkward to pull inboard after use. An aluminium one would be far lighter, even though it wouldn’t float, so this was the aim. I had to pay dearly for a length of chequer plate aluminium, but the 2ins x 1/8ins angle at each side came from the local scrap merchant. It was cramped together and drilled, then pop riveted. It weighed in at just 18lbs. I also drilled a hole at the outer end to enable is to be easily lifted like a drawbridge, which enabled it to be more easily lifted back on board and withdrawn from the bank for better security. In five years of boating, I have only used it once! Maybe it was a waste of money, but it’s still very easy to use and doesn’t need painting!


Drainage
A cause for concern was the leakage of rainwater from the cabin top into the stern battery and gas lockers. This really is the boat builders design fault, because the cabin top is horizontal throughout its length and although the slide and cockpit are protected by a fitted cover during long term mooring, the water still got in. I am still really puzzling over a better solution to this problem, but the best I could come up with was a wicking system into a container. Although the photo shows a plastic milk bottle here, during long periods away from the boat, I use a bucket. I am thinking that a future modification might be to have a sloping section welded between the slide and the cant rail to deflect the water further forward to the drainage gap in the cant rail.


Tiller Strings
Being close to the river Thames, I have to use it if I want to get to the main canal system. To take the strain of holding the tiller for hours on end, going to the loo, putting the kettle on, etc. I decided that tiller strings would be the answer and they have turned out to be invaluable on the river, though no good on the cut, as steering would need to be constantly corrected. They did need constant adjustment initially to keep the boat in a straight line, but once a few additional knots were put in they worked a treat. Also useful if we are breasted up with another boat when working locks.


There are two stainless steel U bolts on the RH side of the picture, which also accept the stem of a fisherman's umbrella. It covers most of the deck area, but is only useful if there is no wind or bridge 'oles on the cut.

Safety

I mentioned earlier that a crew member had fallen in the cut. As I was wary of my own safety too, I resorted to buying a safety ladder, which has additional strapping machined on it to enable it to be hung from the stern seat. So far it hasn’t been used yet. I also had a semi circular safety step welded to the base plate when the boat was out for blacking. Judging by the amount of weed on it though, I imagine it would be very slippery if used in earnest.
Stern Line
I dislike the stern line hanging over the tiller pin. The old traditional working boaters never did this, mainly because they were using both stern dollies for towing the butty. Also there is a fair chance that the line could end up in the water from here and wrap around the blades. If your tiller is polished brass, the wet line will tarnish it even sooner than normal. I found an alluminium tubular hook in a DIY store and flattened the end to clamp  between the wooden seat and it’s steel counterpart. The line comes readily to hand when required and is out of the way when on the move.

Solar Panel

When I bought the boat, I decided to go for a Honda generator for charging the batteries when not cruising. I stuck to this method for five years, until I had to purchase new batteries, when I decided to go down the solar panel route. I must say that so far, this was a wise decision and for the first time I could sleep the night through without the dying fridge waking me at 3am. I purchased a 50w panel and Morningstar Sunsaver Controller from http://www.blueskypower.co.uk/index.asp  The control box enables two battery banks to be charged at 10%/90% rate or 50%/50% rate by means of DIP switches, as well as four charging parameters of 1.Bulk charge - 2.Absorption – 3.Float – 4.Boost. This really is an advanced piece of American kit! I was loath to drill through the cabin top and managed to squeeze the cables through a ventilator and then through the roof lining. The panel is attached with extremely powerful Neodymium magnets, which come with four A4 sheets of health warning for their use –  scary stuff! I have no idea how I will remove these yet, when the boat is due for a repaint.